
BlackCoat journal
By BlackCoat Services
6 min read
How to choose a 3D printing material: start with the part, not the plastic
Choose a 3D-printing material by describing the part's use, environment, loads, interfaces and finish instead of guessing from a material name.
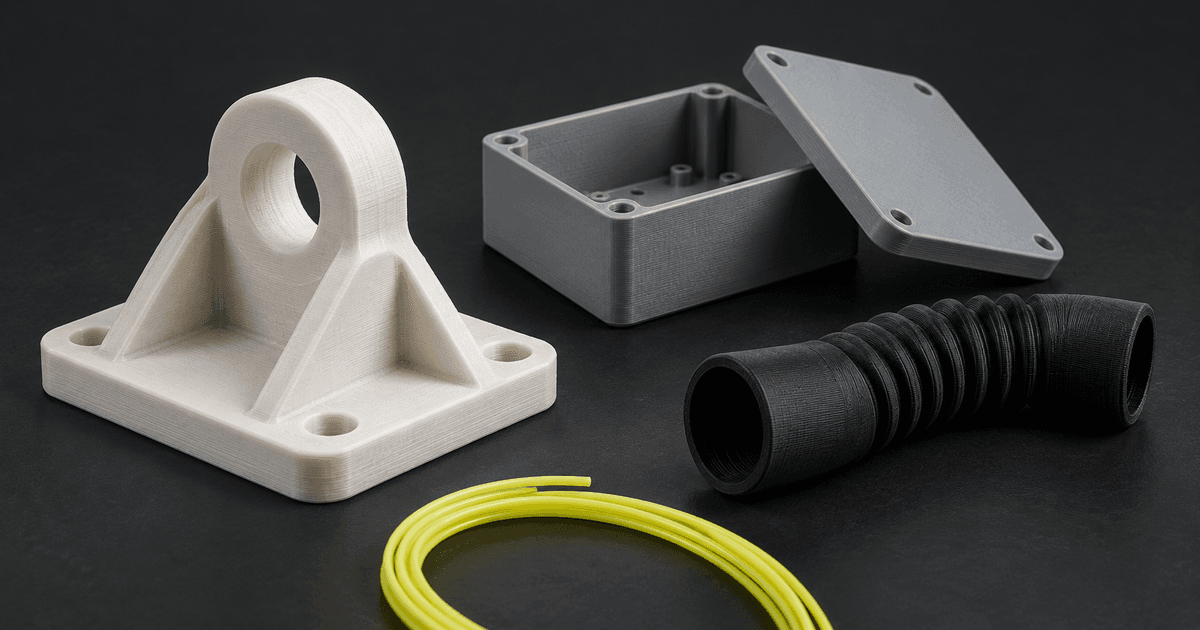
There is no universal best 3D-printing material. A useful choice starts with what the complete part must do, where it will be used and which features matter. Material, process, geometry and print orientation then need to be reviewed together rather than treated as separate decisions.
It is fine to begin a quote request without naming a material. Describing the requirement clearly is more useful than guessing from a familiar label, because products within the same broad material family can differ and a suitable candidate still depends on how the part is designed and produced.
Start with what the part must do
State the part's purpose in practical terms. Is it a visual model, a fit check, a frequently handled component, a fixture or a short-run product? Identify the decision it must support and what would make it unacceptable. That separates essential requirements from preferences that can remain flexible.
- Describe who will use or handle the part and how often.
- Identify loads, impacts, flexing or clamping that the part may experience.
- Explain the operating environment, including heat, sunlight, moisture, cleaning or chemical contact.
- Mark mating faces, fasteners, holes and other critical interfaces.
- State which details, colours, textures or visible faces matter.
- Give the required quantity, delivery date and expected repeat demand.
Loads, handling and working life
Words such as strong or durable are too broad on their own. Explain where the load is applied, whether it is steady or repeated, and what happens if the part bends, wears or breaks. A display model and a working fixture may share a shape while needing very different material and design decisions.
Environment and exposure
Describe the conditions around the part rather than asking for a weatherproof or heatproof plastic without context. Indoor or outdoor use, nearby equipment, sunlight, moisture, cleaning products, oils and storage conditions can all affect the review. If the operating conditions are uncertain, say so and identify what can be checked before production.
Appearance, detail and finish
Material selection also includes what a part needs to communicate visually. Identify small text, fine features, presentation faces, colour priorities and acceptable layer or support marks. A part for photography or stakeholder review can put different emphasis on detail and finish from a hidden functional component.
FDM and resin are different material systems
FDM places softened filament along planned paths, while resin printing forms layers from liquid resin using light and then requires process-specific cleaning and curing. Each route has its own material families, orientation choices, support strategy and post-processing. The intended use and geometry should guide the process before a product name is selected.
Material names are only a starting point
Labels such as PLA, PETG, ABS, ASA, TPU or nylon describe broad filament families, while resin products may be grouped around standard, tough, flexible, castable or other intended behaviours. These labels help organise a discussion, but they are not interchangeable specifications. Availability and properties vary by product, so the actual supplier information and production route need review.
Geometry and orientation still matter
Changing the material does not correct every design problem. Wall sections, sharp transitions, unsupported features, holes, fastening details and the direction of the printed layers can influence how a part behaves and how it is finished. Critical interfaces should be identified early so geometry, orientation and material can be considered together.
Read property data in context
A supplier data sheet can help compare candidate products, but a published value belongs to a stated test method and specimen. It does not automatically describe a finished part with different geometry, orientation, surface condition or production settings. Compare the conditions behind the data with the real requirement and agree how important features will be checked.
Use prototypes to resolve uncertainty
When a requirement cannot be confirmed from the brief alone, a prototype or representative sample can answer a focused question about fit, handling, appearance or assembly. Define that question before making the sample. A useful trial narrows a decision; it should not be presented as proof of conditions it did not reproduce.
If you have a preferred material, include it with the reason for the preference. The supplier can then compare it with other options against the same part, environment and acceptance requirements.
Next steps